Outdoor Living Areas That Thrive in Spring
Turn winter-worn patios and planting beds into a polished outdoor “room” with smart maintenance, early-season prep, and water-management basics for Janesville yards.
Spring in Southern Wisconsin is not gentle on outdoor living spaces. Freeze–thaw cycles, saturated soil, and surprise cold snaps can undo a beautiful design fast—unless you treat spring as your “reset and reinforce” season.
If you already have ideas sketched out (or you recently read Rote’s post on design inspiration), this guide is the practical follow-up: what to inspect, clean, tune up, and improve so your patio, beds, walkways, and gathering zones look sharp and function right all season.
Start here if you want to revisit the design side first: Exploring Outdoor Living Area Design Ideas.
Do a “spring audit” before you touch anything
Walk your space with your phone camera and take photos. You’re looking for root-cause issues, not just cosmetic mess.
Red flags to note:
- Standing water near patios, steps, or the foundation (a drainage/grading problem, not a “wait and see” problem).
- Pavers that rocked or shifted over winter (base/edge restraint problem).
- Cracked joints in stone, brick, or concrete (freeze–thaw stress).
- Mulch that washed out or bare soil channels (runoff pattern issues).
- Retaining wall bulges or leaning (hydrostatic pressure and drainage).
This quick audit prevents the classic mistake: cleaning and planting on top of problems that will resurface by June.
Spring-cleaning that doesn’t damage your hardscape
A clean patio looks “new,” but aggressive cleaning can shorten its life.
- Sweep first. Debris acts like sandpaper and holds moisture.
- Spot-treat algae/mildew in shady areas (common after snow cover).
- If you pressure wash, keep the tip moving and avoid blasting joint sand out.
- Refill polymeric sand only after the surface is fully dry and stable.
If your patio is older, uneven, or you want a proper refresh (not a patch job), start here: Brick & Paver Patios.
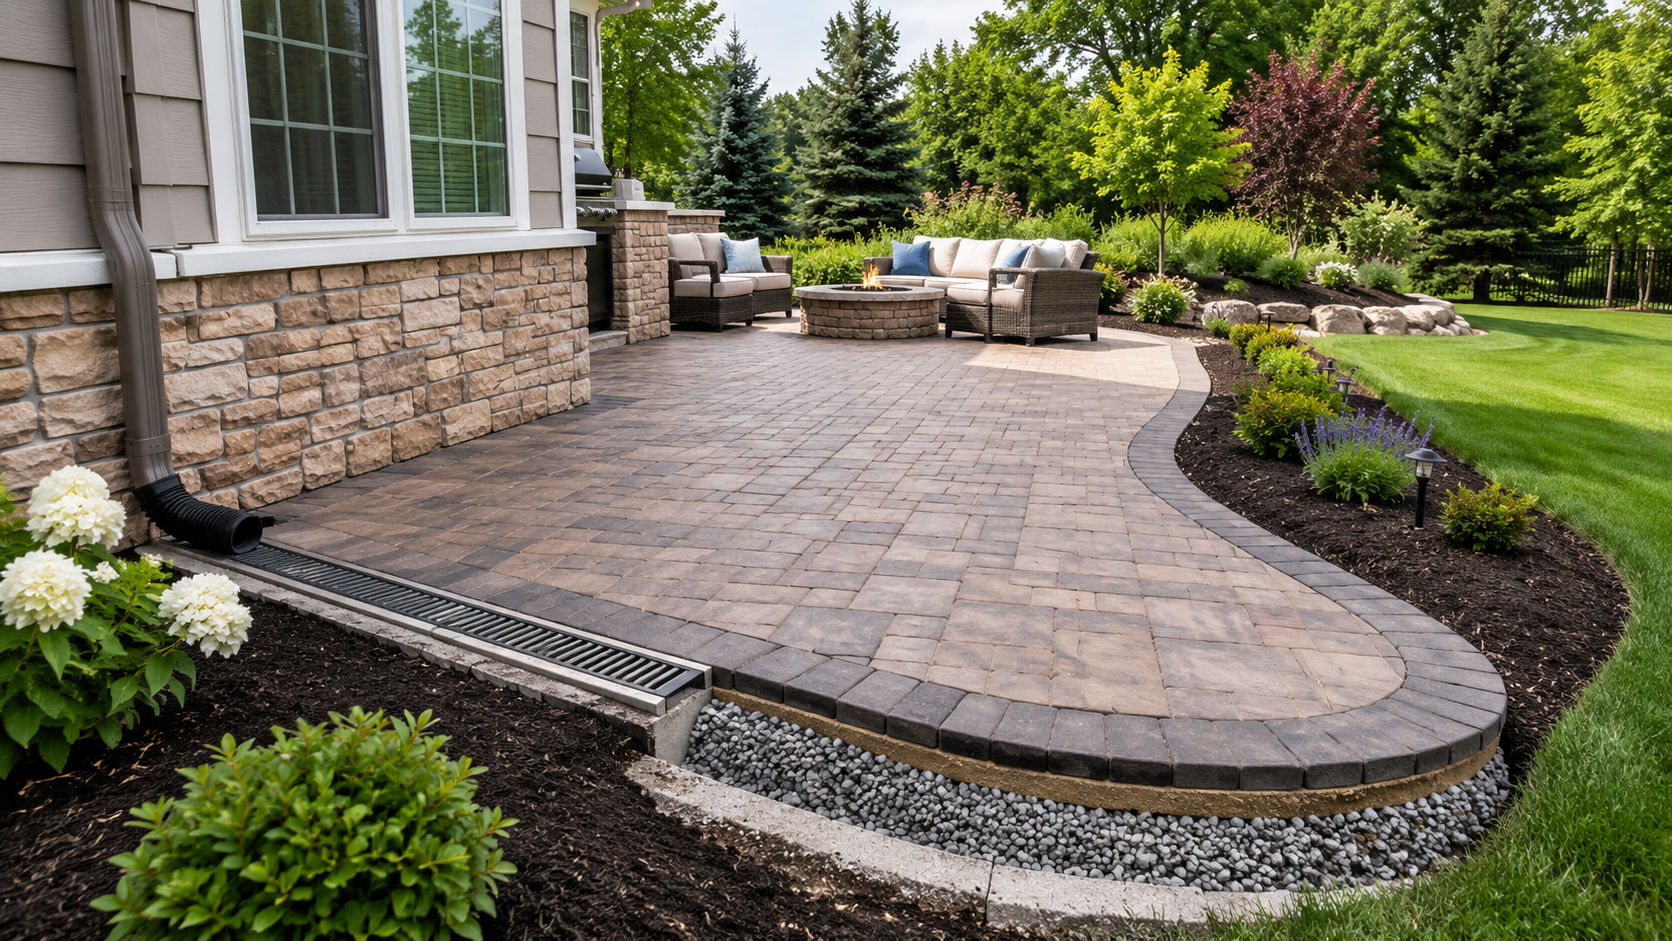
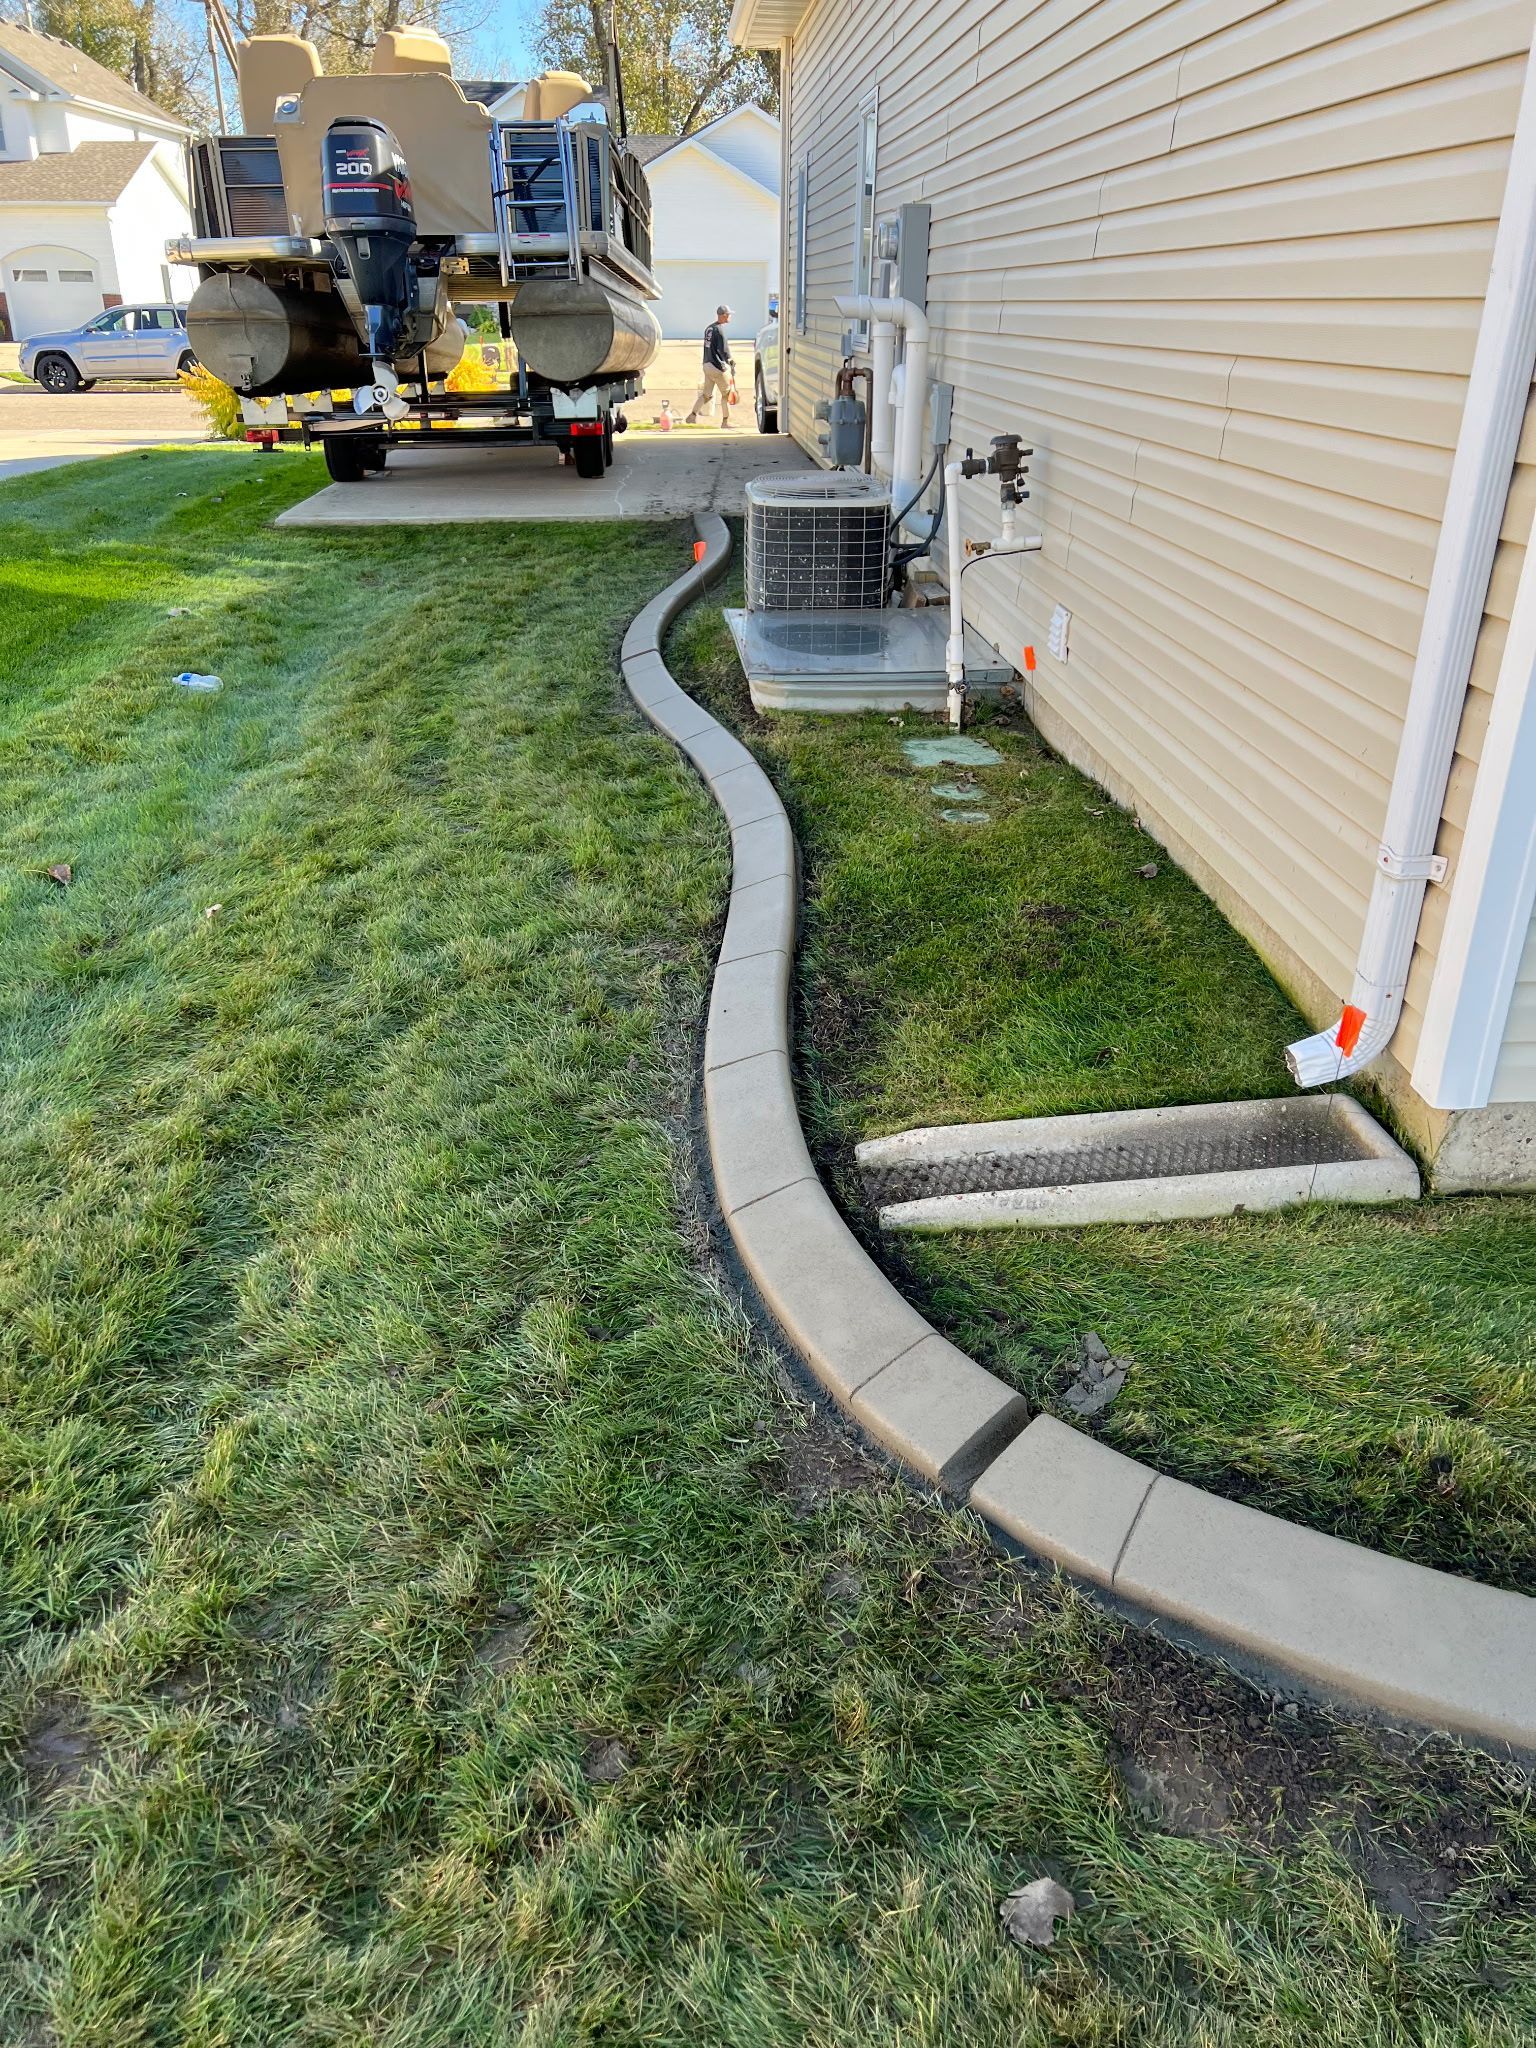
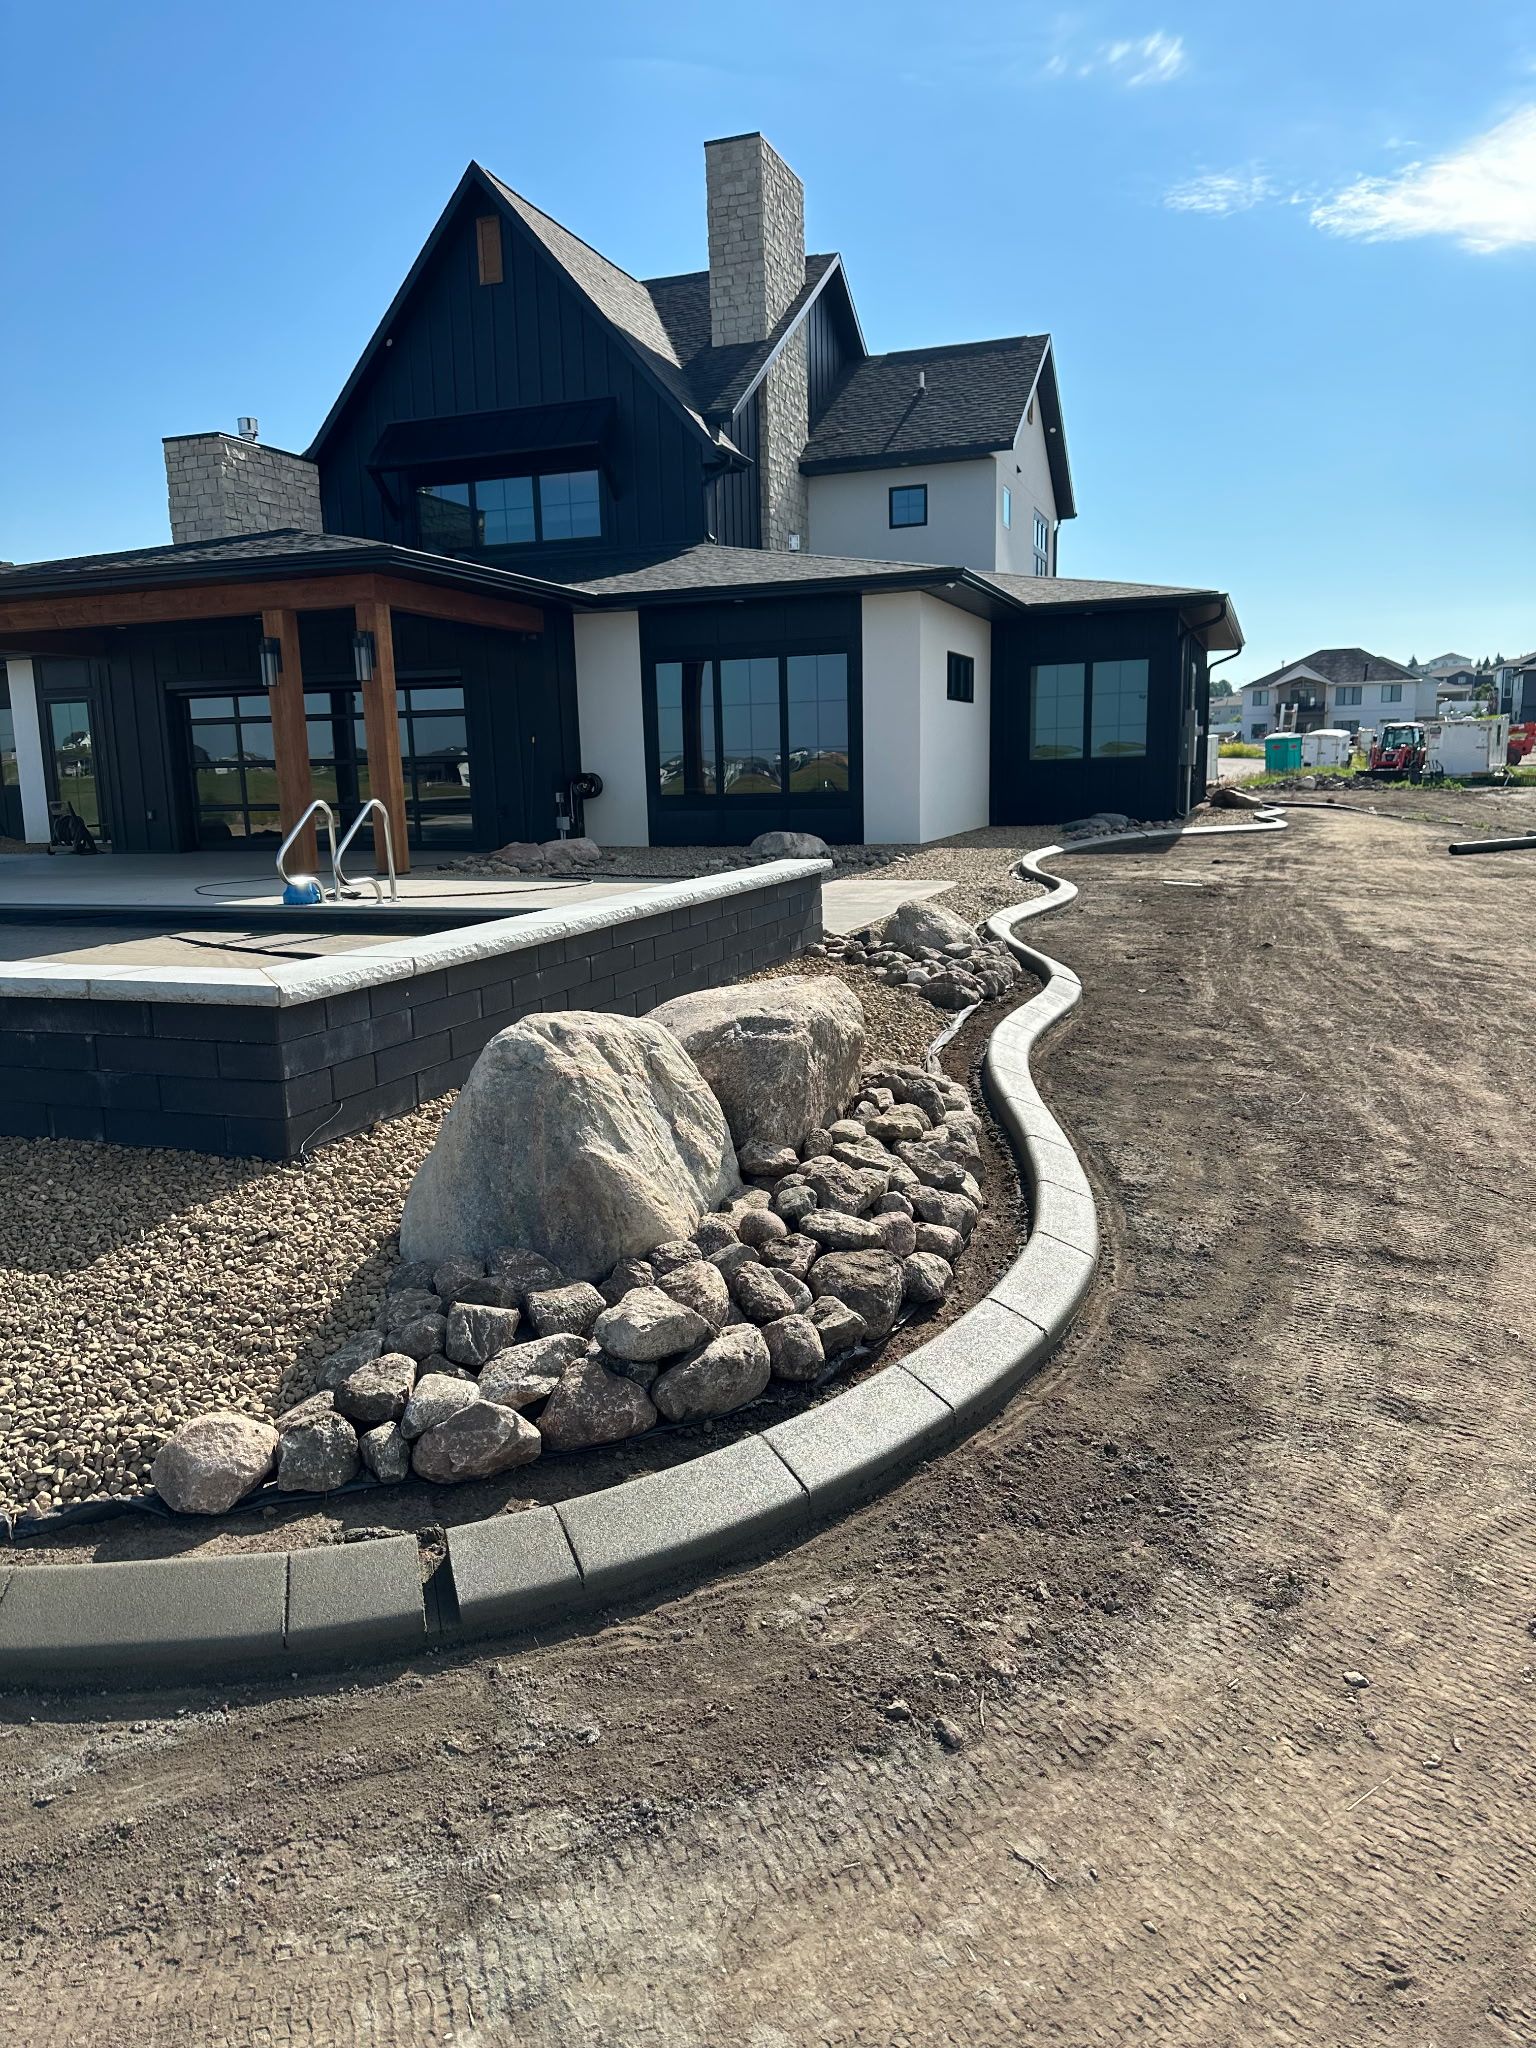
A lot of patio failures begin at the edges—where water gets under, then freeze–thaw does the rest. A crisp border detail is both aesthetic and structural. Concrete curbing is one of the cleanest ways to lock in lines and reduce washout:
Concrete Curbing.
Make spring a drainage season (your outdoor living area depends on it)
Outdoor living spaces fail when water is unmanaged. Period.
What to do early in spring
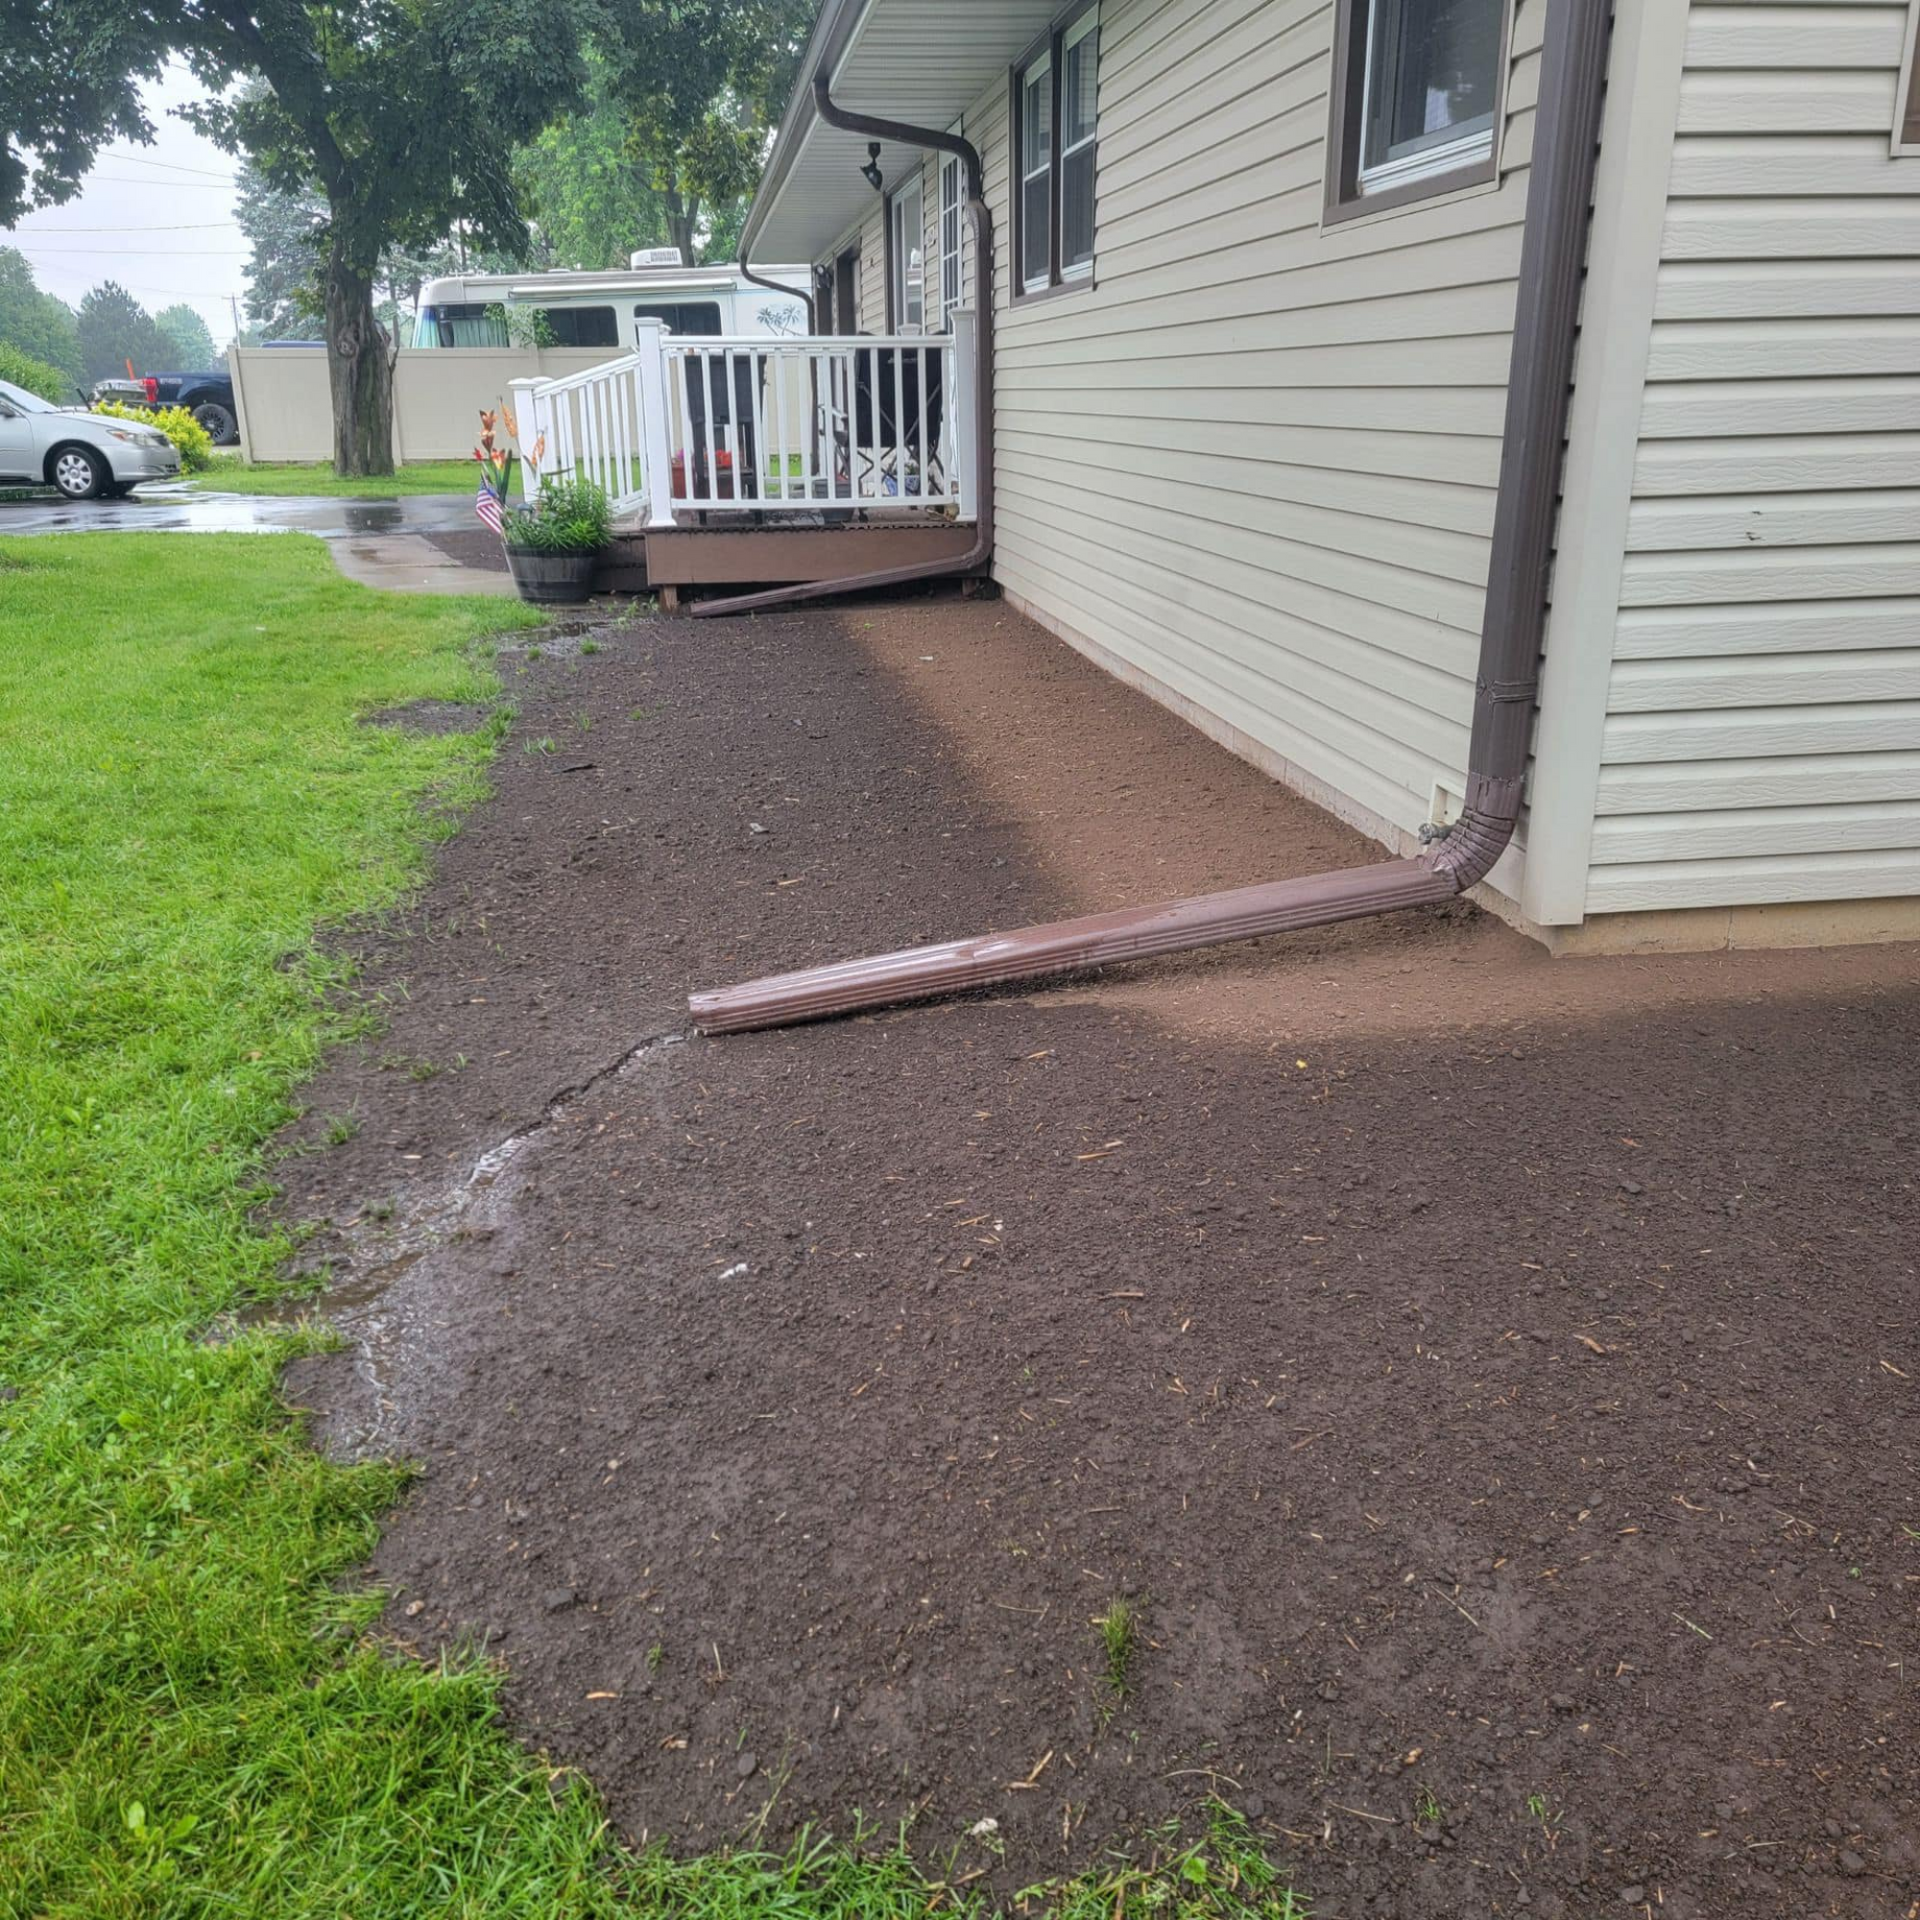
- Confirm downspouts discharge away from patios and the foundation.
- Watch water flow during a moderate rain—where does it actually go?
- Re-grade low spots before you plant or mulch (otherwise you’re hiding the issue).
- Keep soil and mulch below siding/weep points; don’t build soil up against the house.
If you’re seeing soggy spots, basement moisture, or repeated washouts, don’t guess—address the source:
- Waterproofing & Drainage Solutions
- Related reading on exterior-first prevention: Two-Pronged Waterproofing: Grading + Concrete Curbing Explained
Forward-thinking upgrade:
If you’re planning a new patio, seating wall, or outdoor kitchen area, build drainage and grade correction into the project from day one. It’s cheaper and cleaner than retrofitting after settlement.
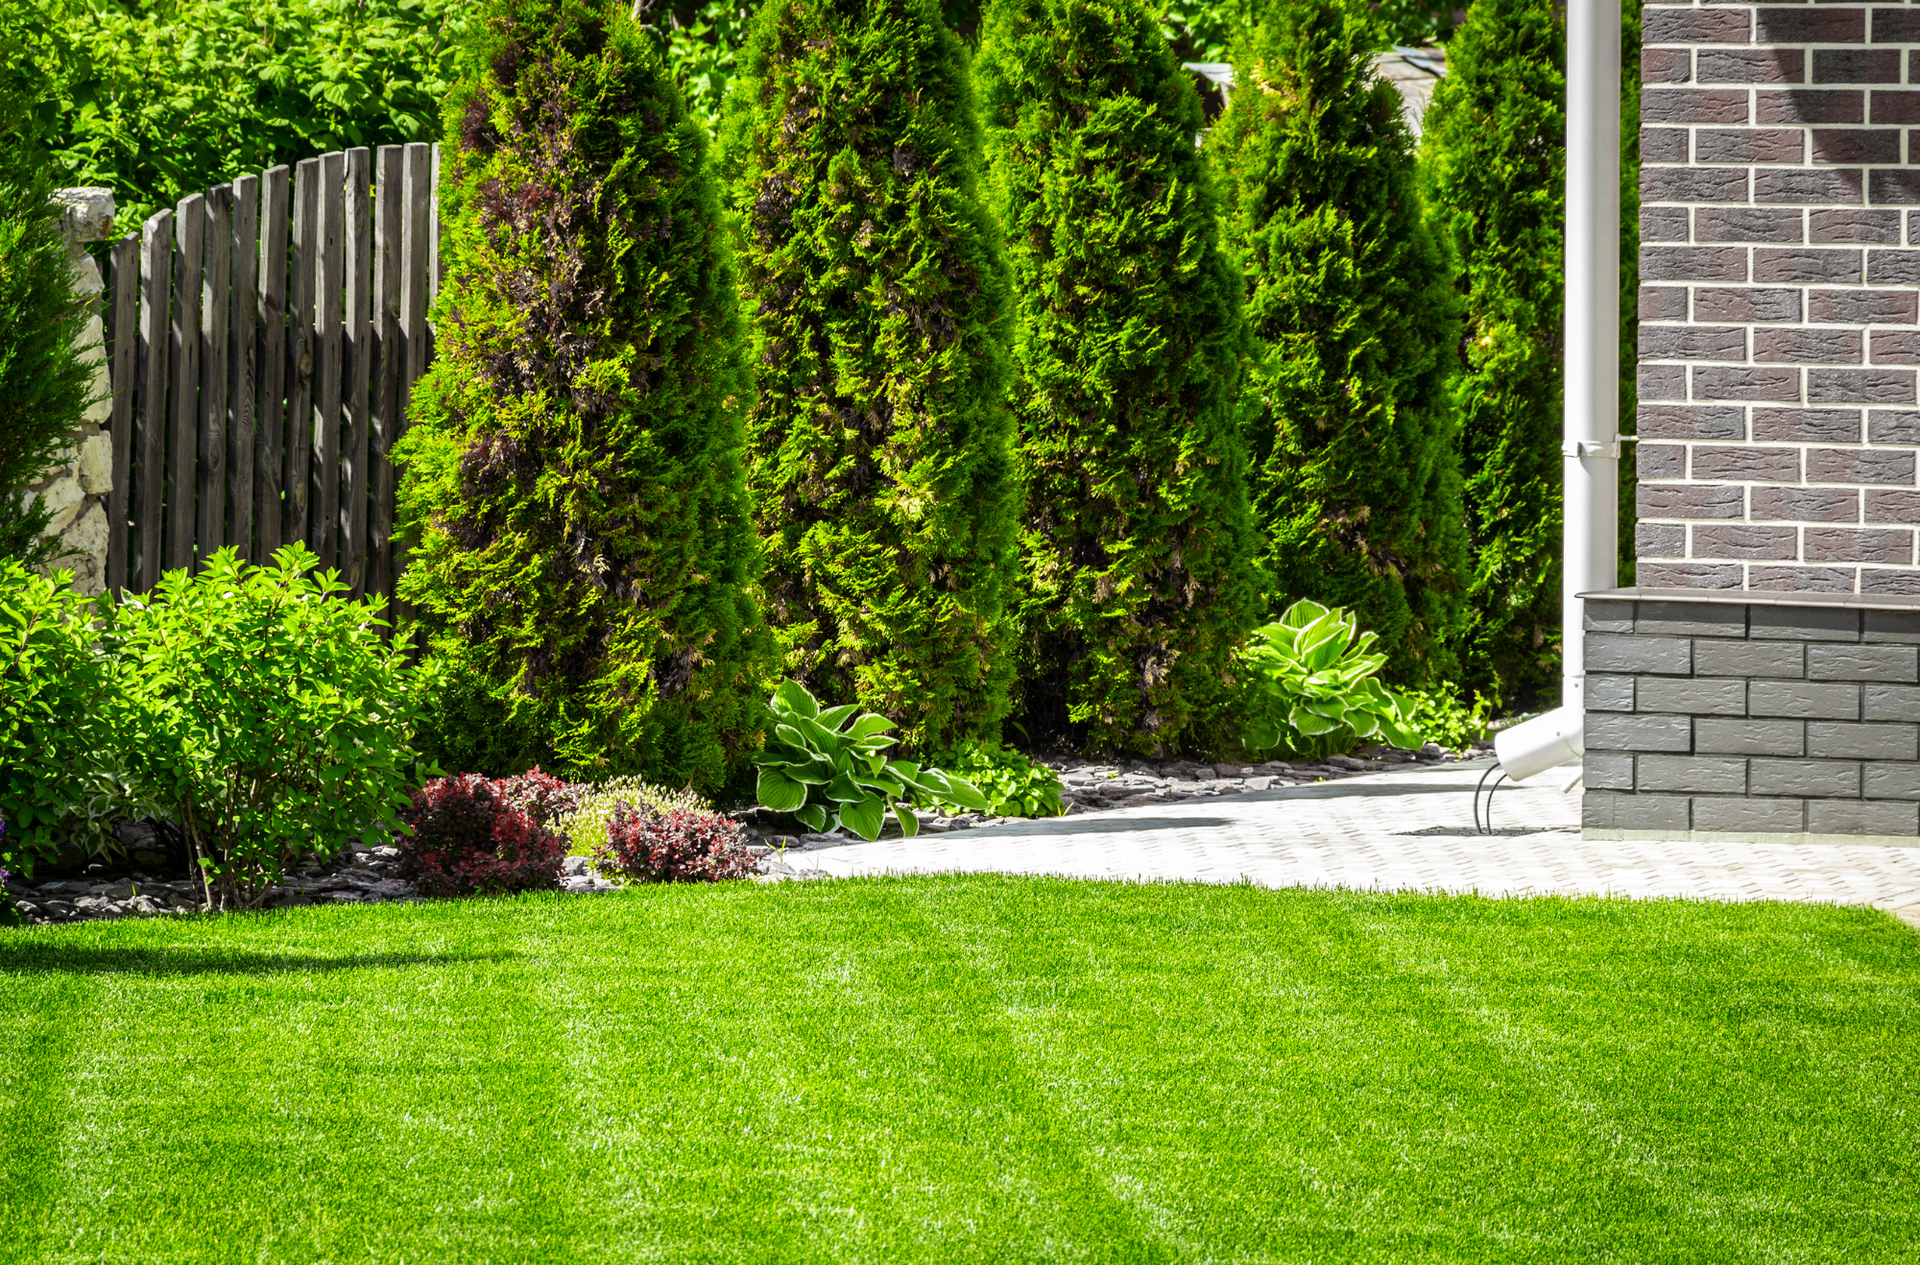
Refresh planting beds with structure, not chaos
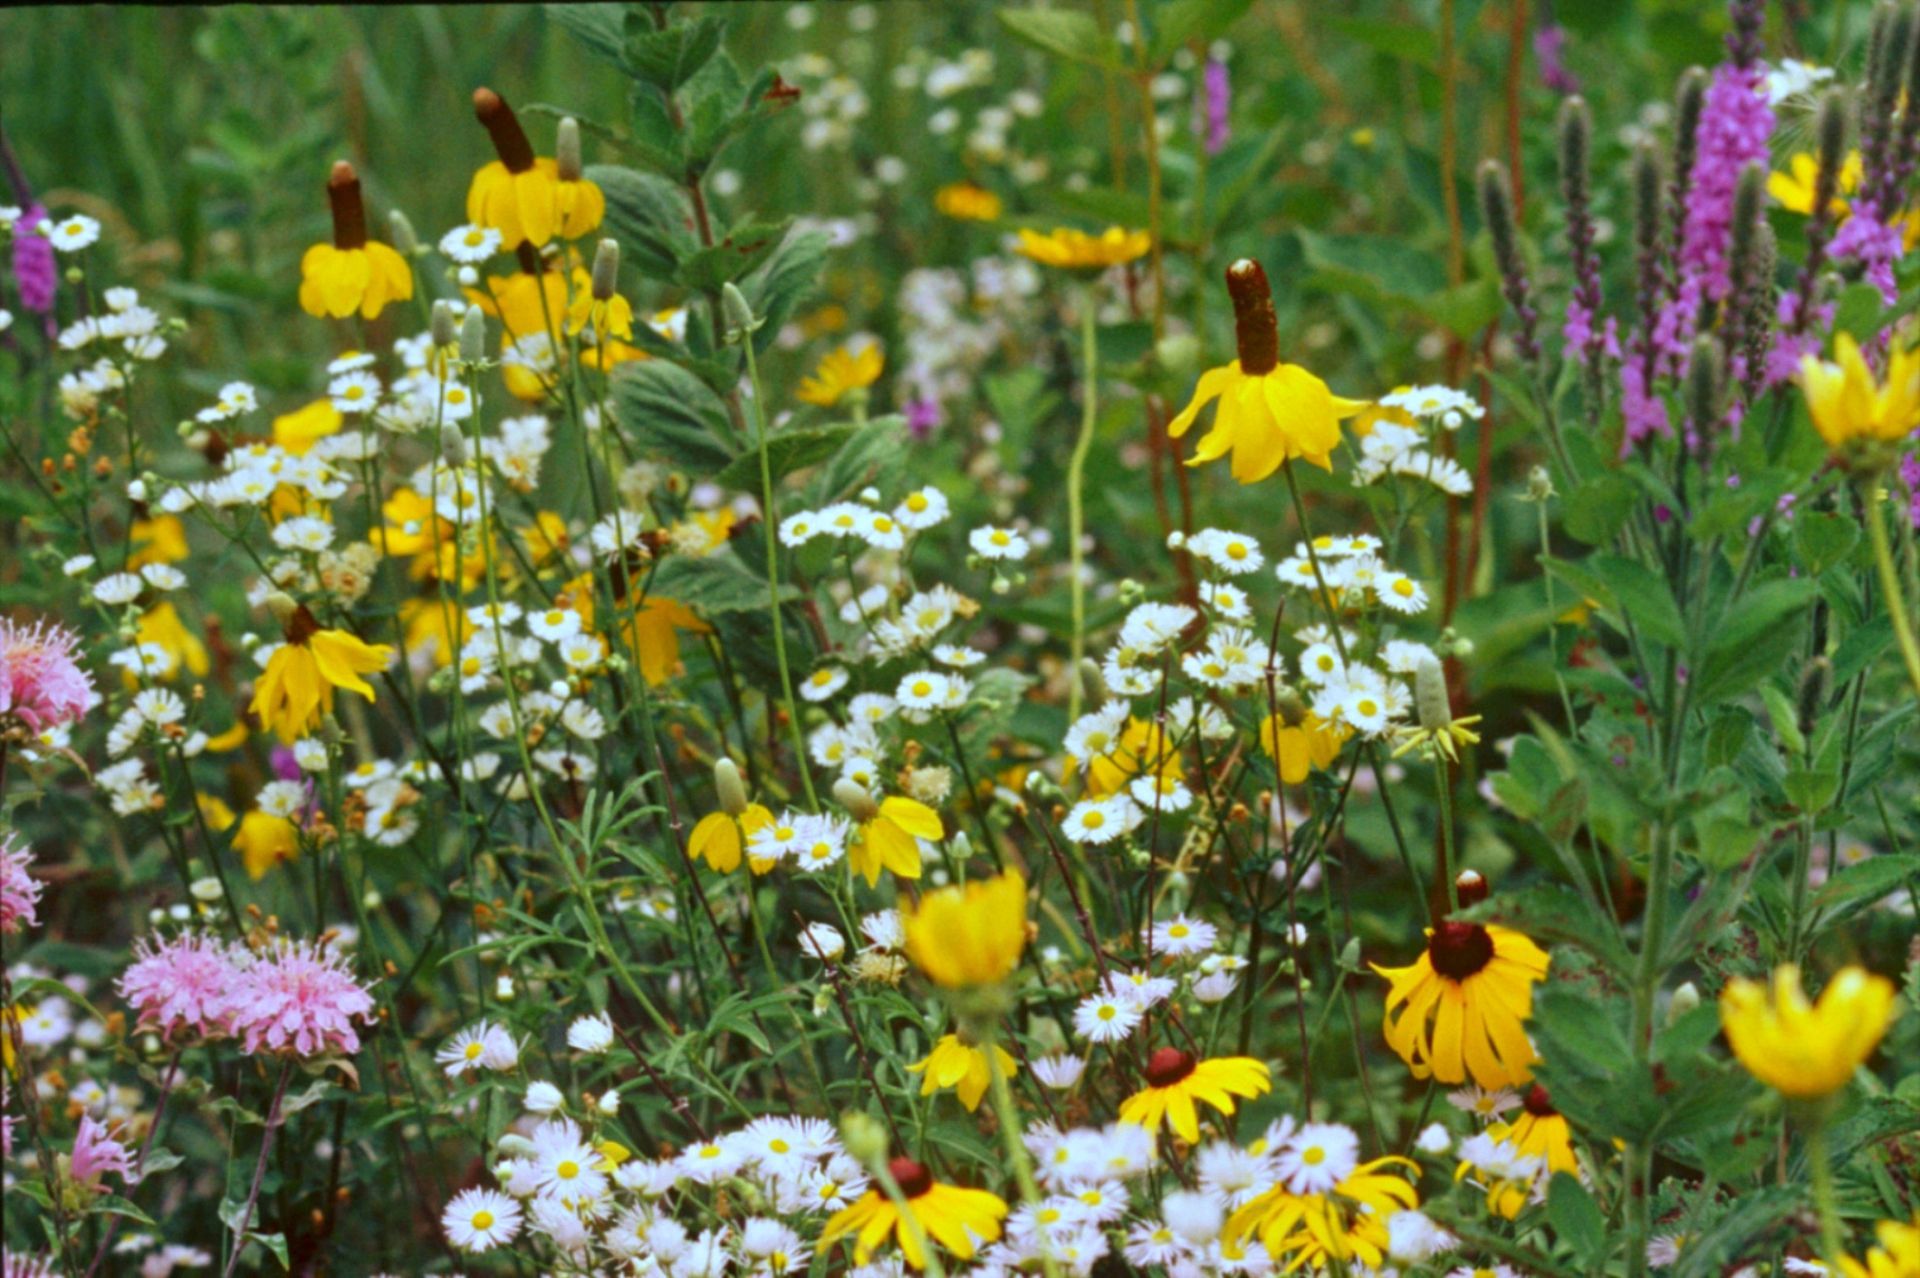
Spring makes people overplant. The outdoor rooms that look high-end follow a simple rule: structure first, color second.
Early-season bed steps
- Cut back perennials once you see new growth starting.
- Remove winter debris and re-edge beds for sharp lines.
- Top-dress compost where needed, then mulch (2–3 inches is plenty).
- Leave a small mulch-free ring around plant crowns to reduce rot.
If your beds have “blob shape” edges or grass creep, defined borders instantly elevate the whole outdoor living area. Start here for bed and edging solutions: Custom Landscape Beds & Edging.
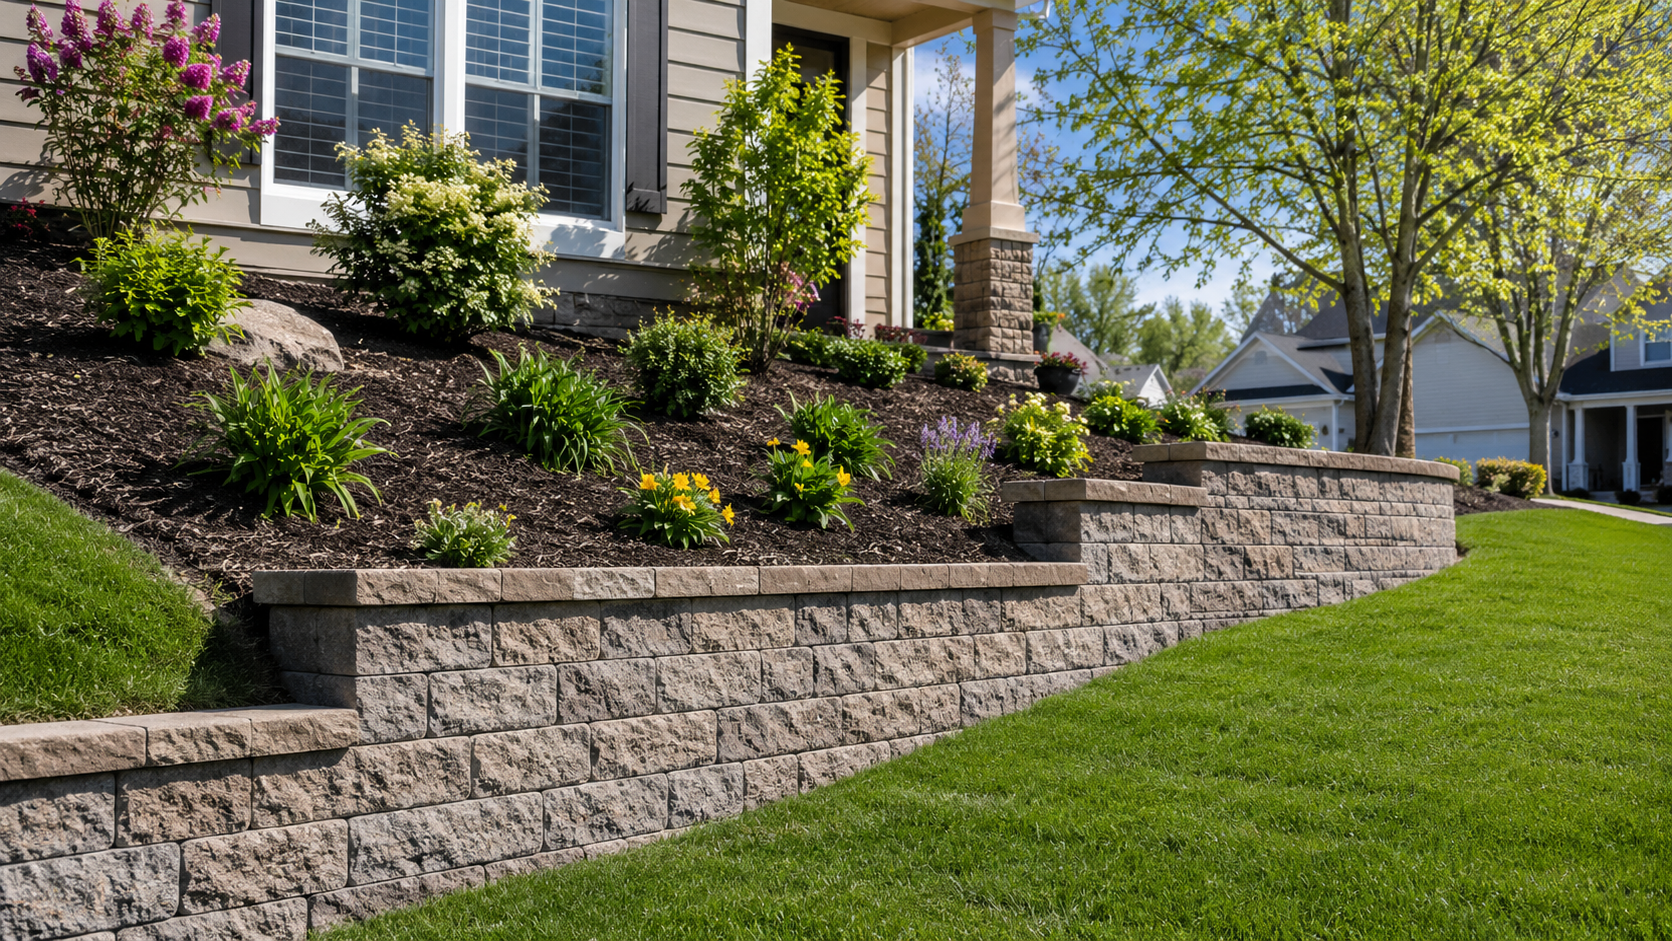
Retaining walls and seating walls: spring is inspection season
Walls are outdoor living multipliers—terraces, seating, raised beds, and visual structure. But Wisconsin winters expose weaknesses.
Inspect for:
- Leaning or bulging
- Erosion at the base
- Gaps opening between blocks/stone
- Water staining or persistent wet soil behind the wall
If you see movement, treat it as a structural and drainage issue, not a cosmetic one. Learn more about wall options here: Retaining Walls.
Make your outdoor “room” feel intentional with 3 quick upgrades
These are low-drama, high-impact improvements that help the space feel designed—not accidental.
A. Define zones
Use edging, curbing, or a subtle grade change to separate:
- Cooking
- Dining
- Lounge/fire feature
- Pathway/entry
B. Upgrade lighting early
Before plants fill in, it’s easier to place/repair low-voltage lighting along:
- Walkways
- Steps
- Patio perimeter
- Feature plants or stonework
C. Protect high-traffic areas
If spring turns your lawn into a muddy shortcut, add:
- A paver path
- Stepping stones
- A widened patio transition
These reduce mess and preserve the look of your space.
When DIY stops making sense
Here’s the blunt truth: if your outdoor space has water problems, settlement, or repeated washouts, you can’t “pretty it up” into permanence. You need correction work—grading, drainage, rebuilding base layers, and proper borders.
Rote’s covers both the outdoor living buildout and the water-management side (which is the part most contractors don’t want to touch). You can see their broader capabilities here: Landscaping & Hardscaping Services.
And if you want inspiration from real local work: Projects.
Ready to get your space spring-proof?
If you want your outdoor living area to look great and hold up through Wisconsin weather, get a plan in place early—before the “everything is booked” season hits.
Contact Rote’s Landscaping & Waterproofing in Janesville for an estimate and site-specific recommendations